3 Tips in Placing Closet Flange Extensions
Aly Bruno • May 18, 2021
BruCo's Closet Flange Extension Kit
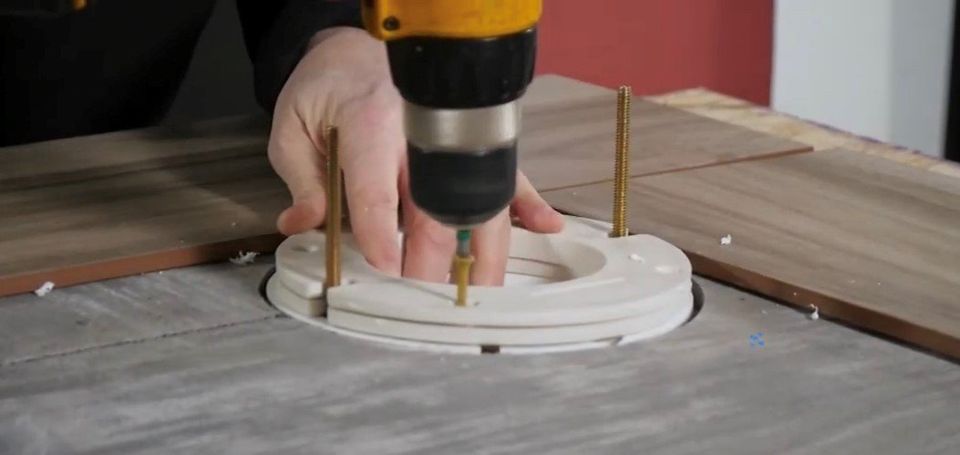
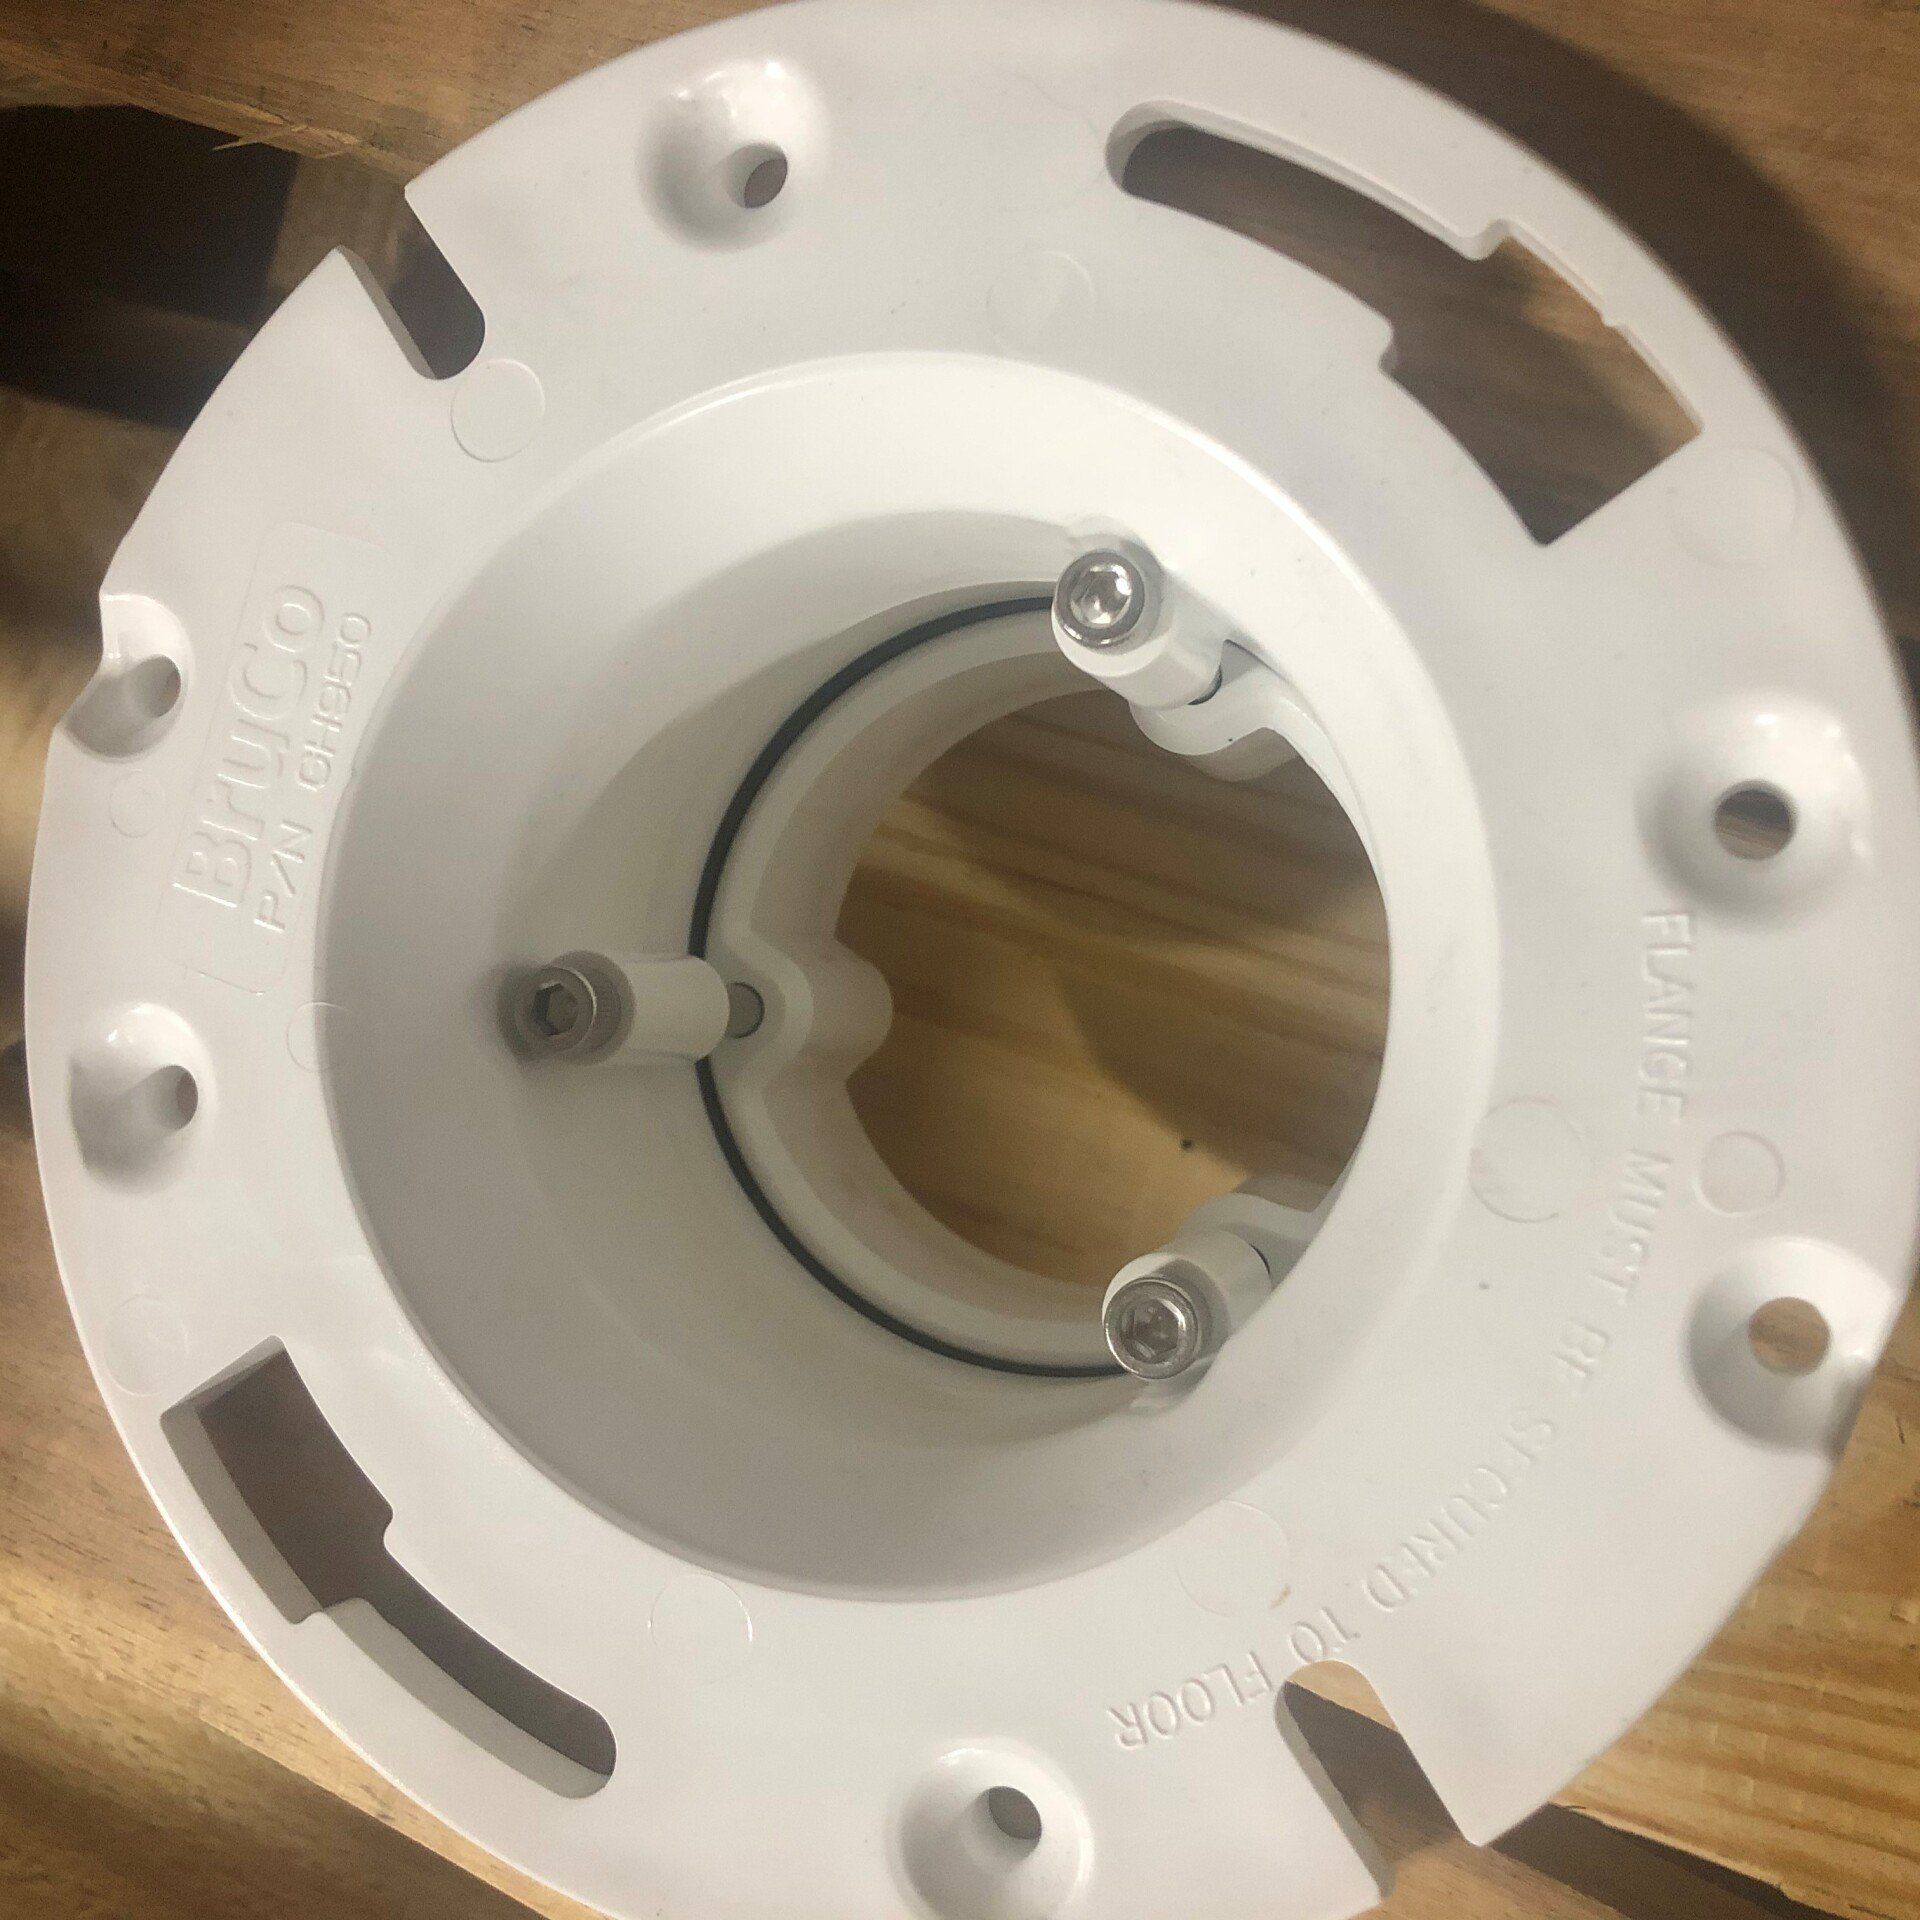
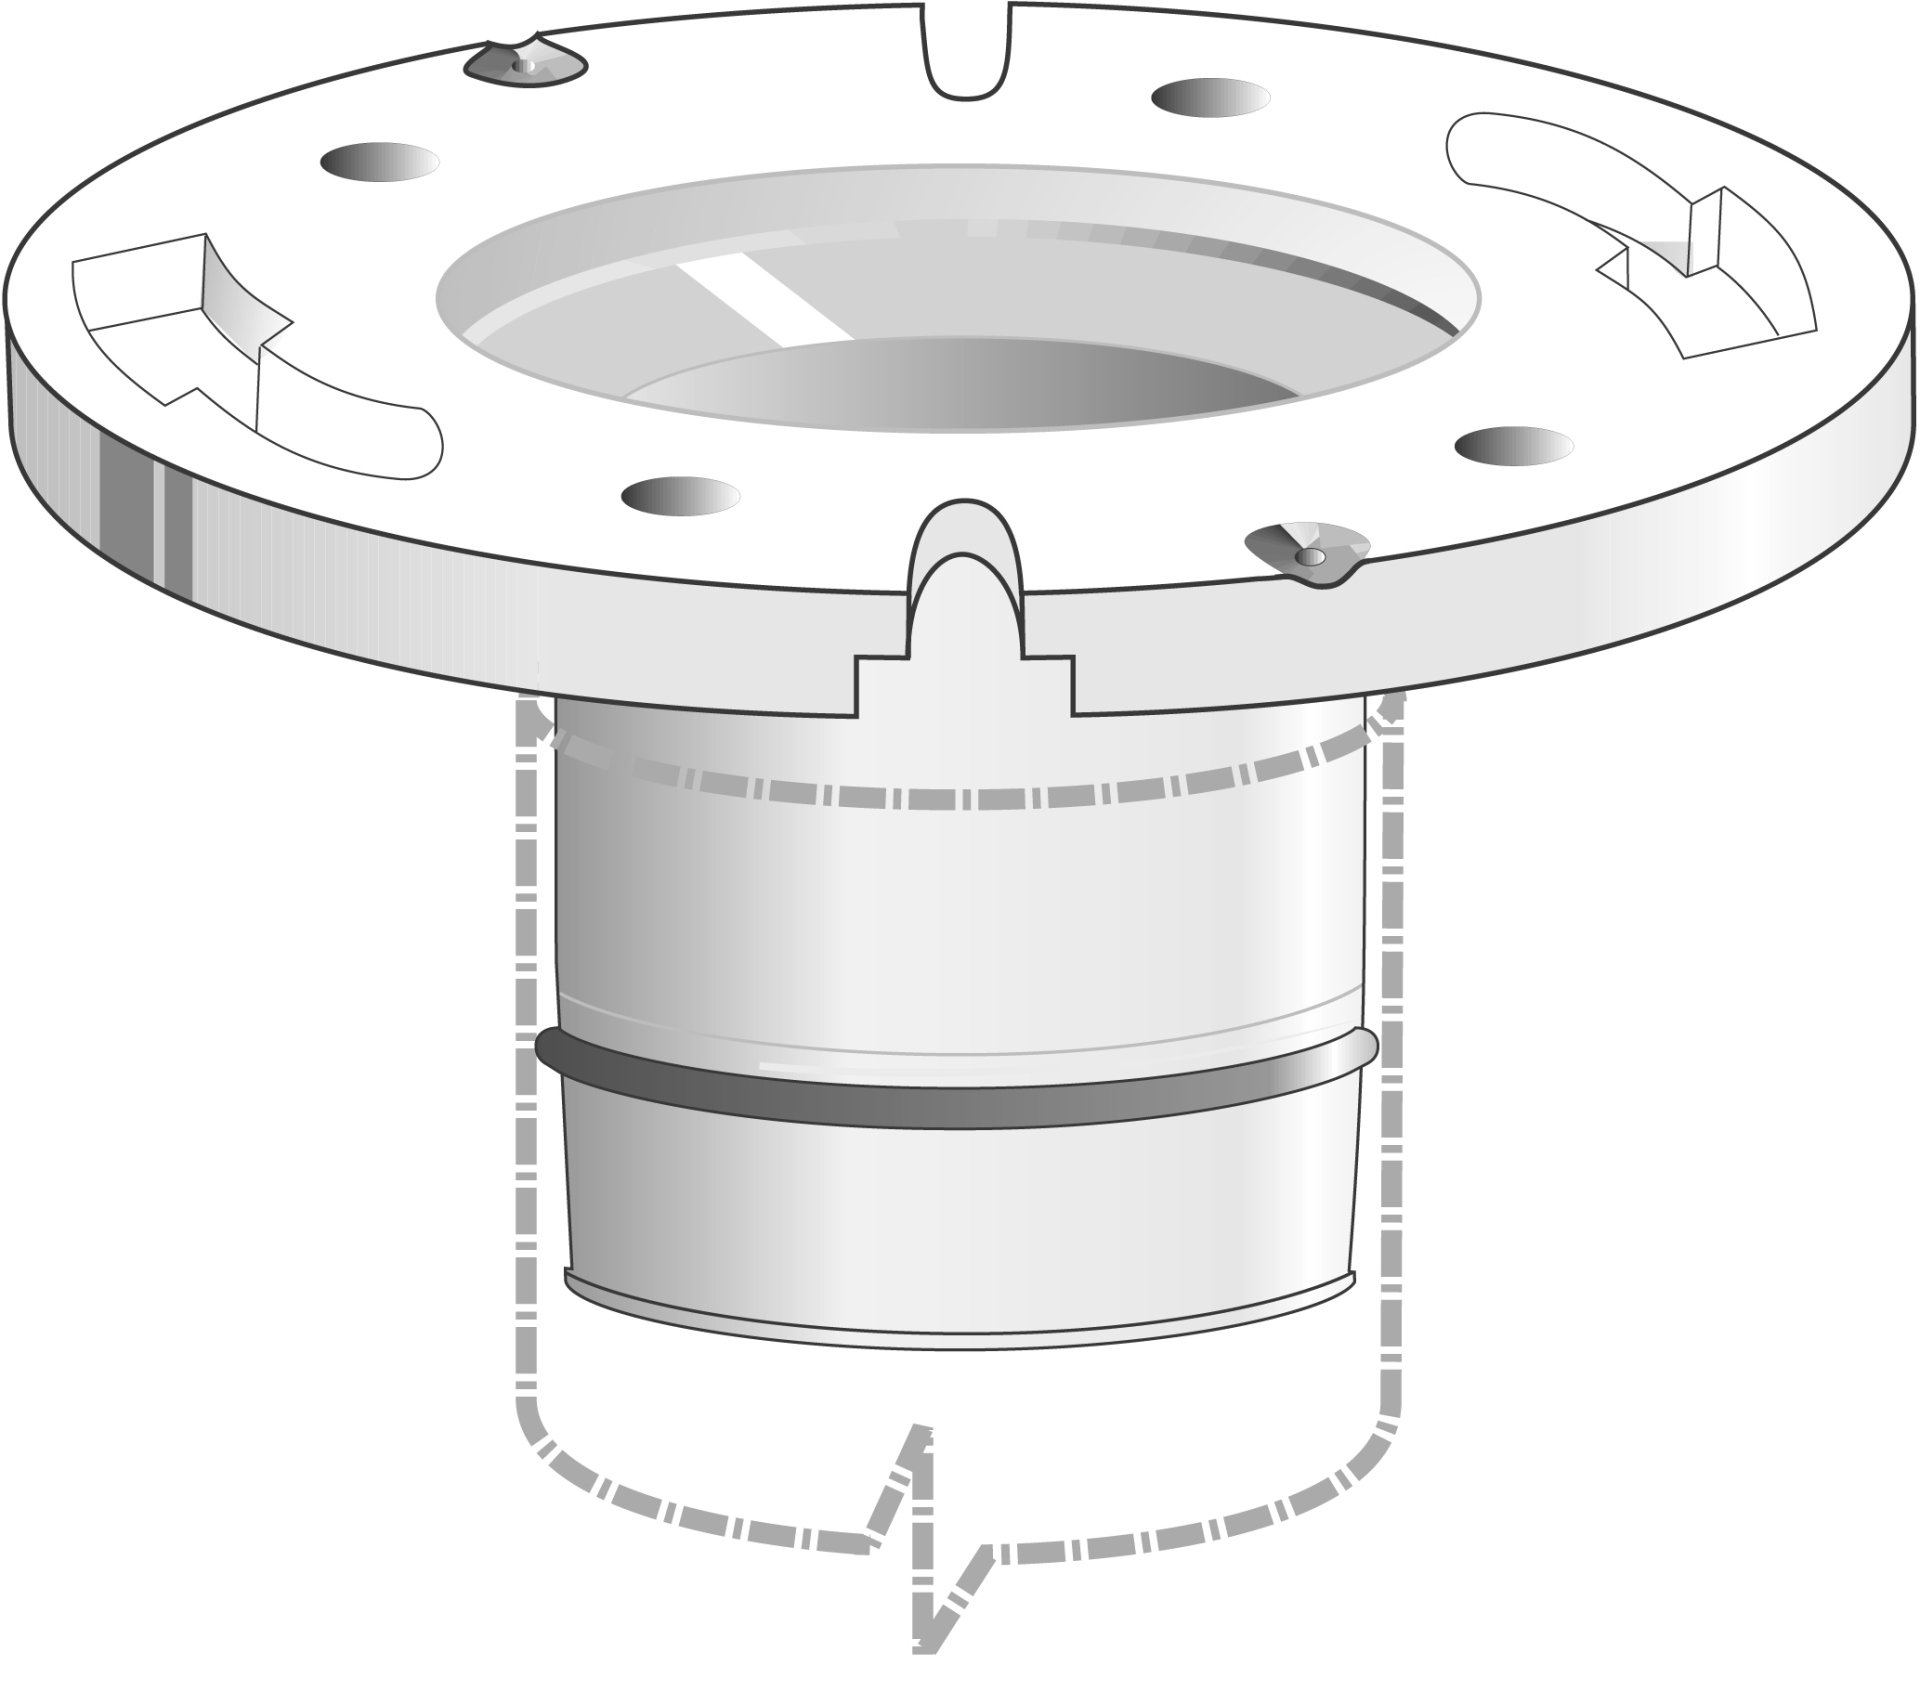
Our BruCo Closet Flange Extension Kit comes with 3 extensions, bolts, and silicon sealant. These tools are enough to get the job done after new flooring has been placed. This raises the flange surface so it can reach the toilet’s new height.
Tip 1:
Don’t use more than the 3 Closet Flange Extensions.
This is recommended by us as the manufacturer for best sealing properties. If more than 3 extensions are needed it is advised that there be a couple prior repairs to using the extensions. Purchasing a new closet flange that fits within the new flooring height is best in these cases. Or you could always put as many extensions as you want under there and have the leaning tower of Pisa beneath your toilet!
Tip 2:
Use the silicon sealant in between each extension.
Although the extensions are self-sealing to each other, we recommend for additional protection to use the extra sealant in between the other extensions, instead of just between the Flange and first extension. There is more than enough sealant to be utilized, so we say why not apply it! Make this your next art piece that no one will get to see...so nothing new.
Tip 3:
Securing the new extensions to the floorboard.
For extra security at the end of the installation, we suggest screwing down the extensions to the new floorboard. This is recommended in all cases when working with closet flanges and their extensions. It creates a more protected fit to the flooring and with the toilet as well.
So go ham on your next toiletry project! Be that guy in the group that has a really cool toilet repair story to share with all their friends and relatives, along with the creepy neighbor you only see once a year. BruCo is here to make sure you have tips and weird stories to tell everyone you know...


